Last updated: 1 October 2026 · By Team Tilesminds
You can build a magnetic race track in two ways: with a ready-made race track set with track pieces and a little car, or yourself with magnetic tiles and magnetic cars. The most fun is combining them: tiles for the town, blocks for the details and a race track for the action.
In this article you'll read how to build a race track with magnetic tiles step by step, which set suits your child and how to use tiles, blocks and a race track together.
In short
- Ready-made: the Magnetic Race Track Orbit 153 Pieces (€34.99) has track pieces, bridges, flowers and a battery-powered car that drives along the track.
- Build it yourself: with magnetic tiles and Magnetic Cars 2 Pieces (€14.99) you make your own roads, bridges and garages.
- Combine: the tiles are the surroundings, the blocks the obstacles and the race track brings the movement.
- Build together: a race track is an ideal project for brothers, sisters and parents.
Contents
- What is a magnetic race track?
- Building a race track with magnetic tiles: step by step
- Combining tiles, blocks and a race track
- Building together
- Which race track suits your child?
What is a magnetic race track?
A magnetic race track is a race track you build with magnetic construction toys. That can be a set with special track pieces, or a track your child makes from magnetic tiles. The difference from an ordinary car track: your child doesn't just build the track, but everything around it too, such as bridges, tunnels, garages and an entire town.
The Magnetic Race Track Orbit 153 Pieces (€34.99) is a complete set with 153 parts: track pieces, bridges, colourful flowers and a battery-powered car that drives along the track. Your child builds the route and can lay it out differently every time.
Building a race track with magnetic tiles: step by step
Already have magnetic tiles at home? Here's how to build your own race track with them:
- Lay out the route: place square tiles flat on the floor one after another. That's your road.
- Make bends: use triangles at the corners to turn the road.
- Build a bridge: set up two pillars of stacked tiles and lay a row of tiles across them.
- Make a tunnel: place tiles in an arch over the road so a car can drive underneath.
- Add a ramp: let a row of tiles slope down from the bridge to the floor. The steeper it is, the faster the car goes.
- Start and finish: use a tile in a different colour to mark where the race starts and ends.
Then put a car on it. The Magnetic Cars 2 Pieces (€14.99) are made to combine with the tiles. You'll find more building projects in our guide to building projects.
Tip: Test together which ramp makes the car travel the furthest. That way, racing becomes a little experiment too.
Combining tiles, blocks and a race track
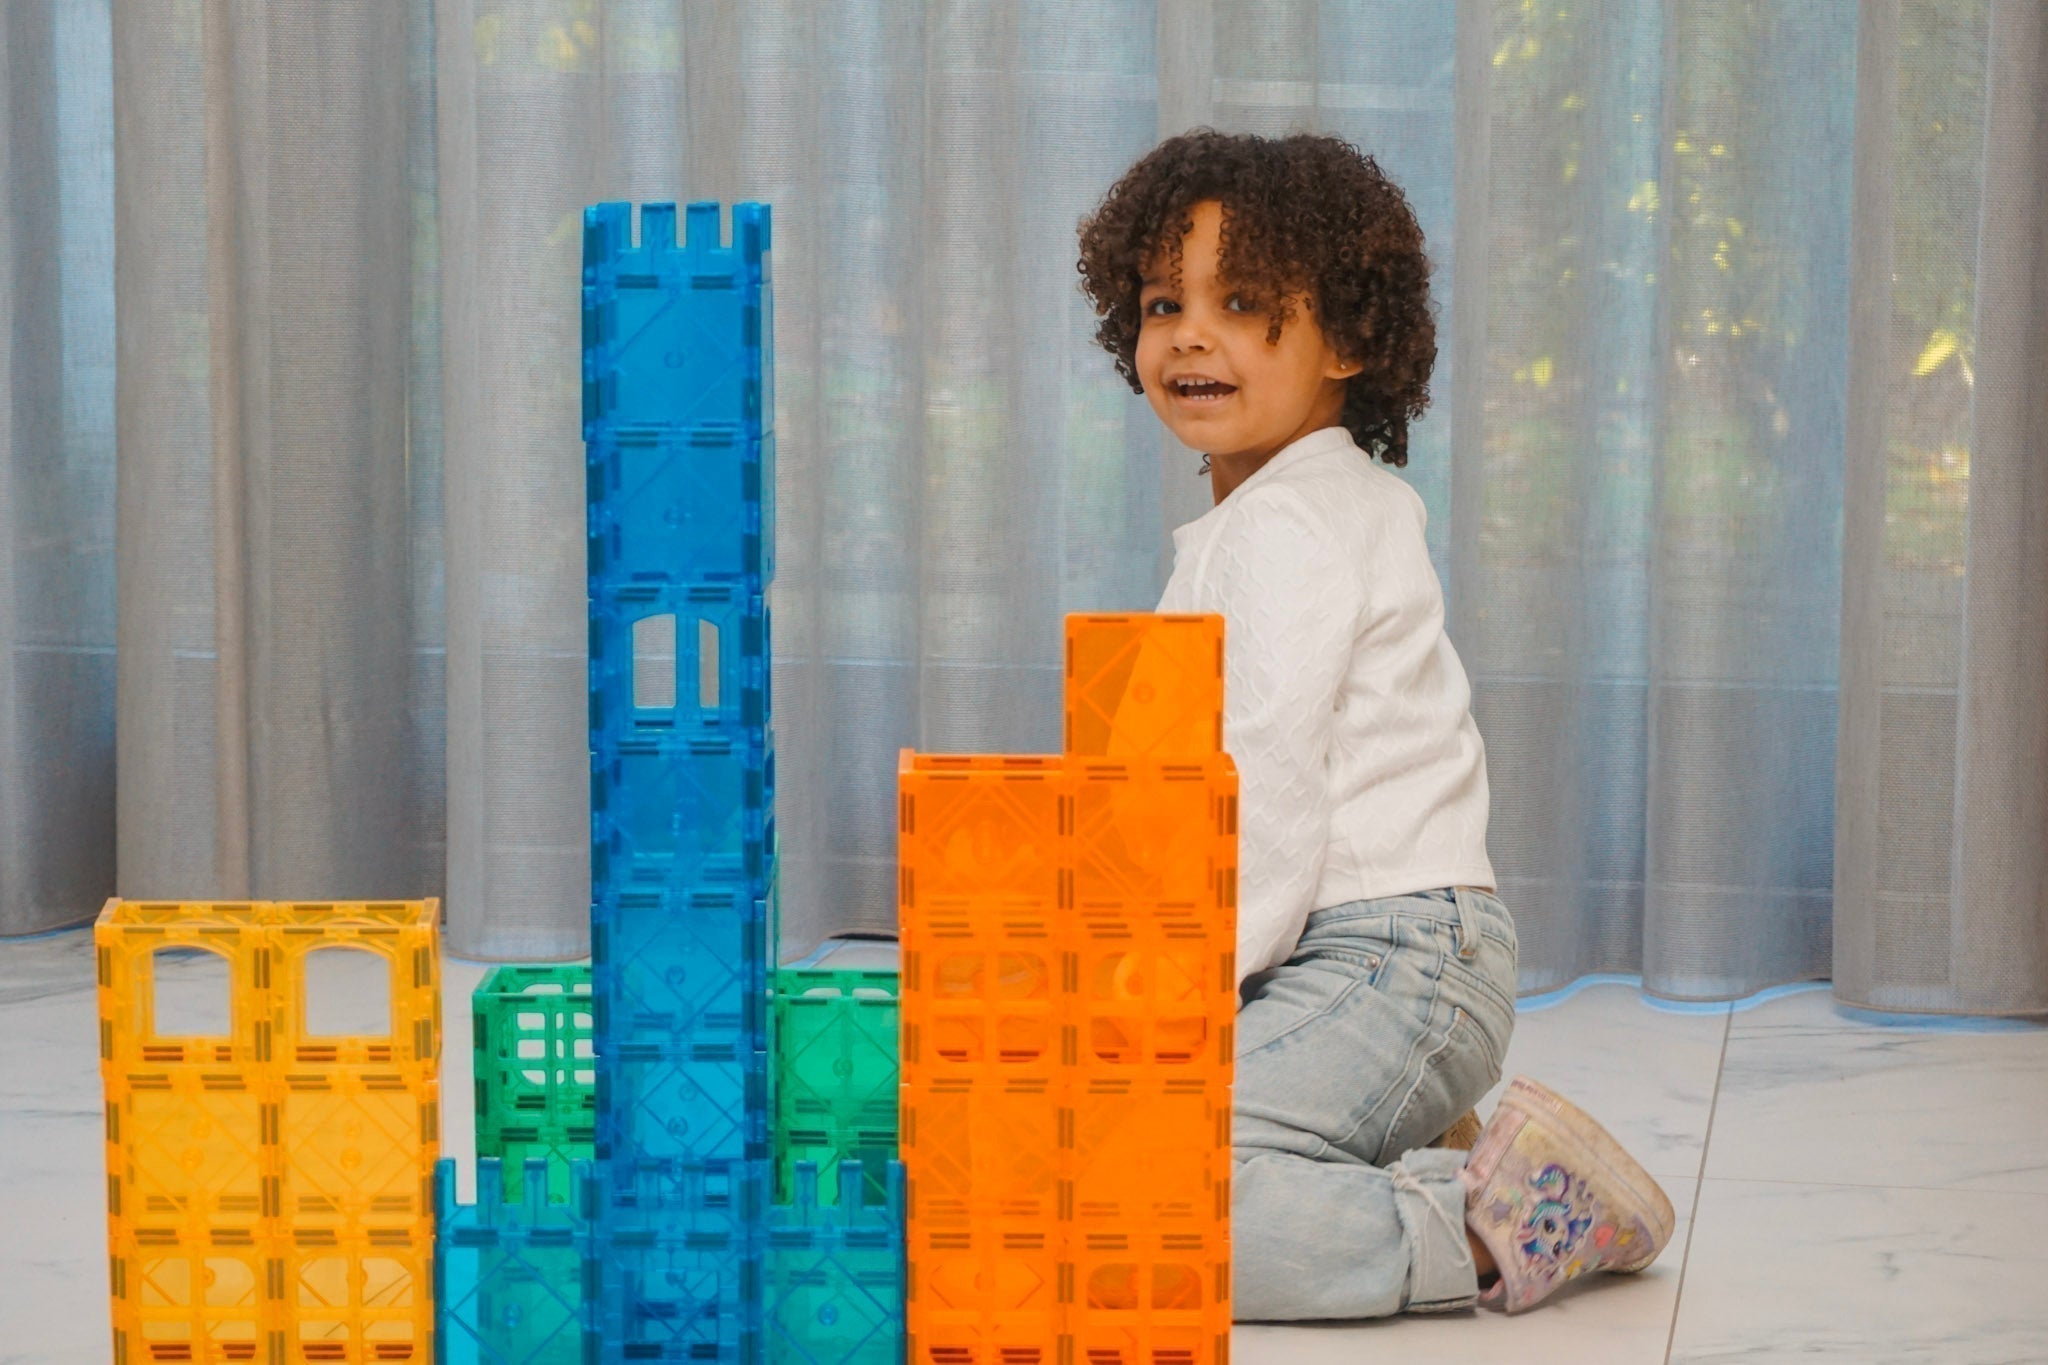
Tiles as the base. Magnetic tiles are usually the starting point. They form walls, floors and roofs, and sometimes something that doesn't look like anything yet but suddenly turns out to be a tower. With the Magnetic Tiles 125 Pieces (€42.00) you have enough to build a whole town around the track.
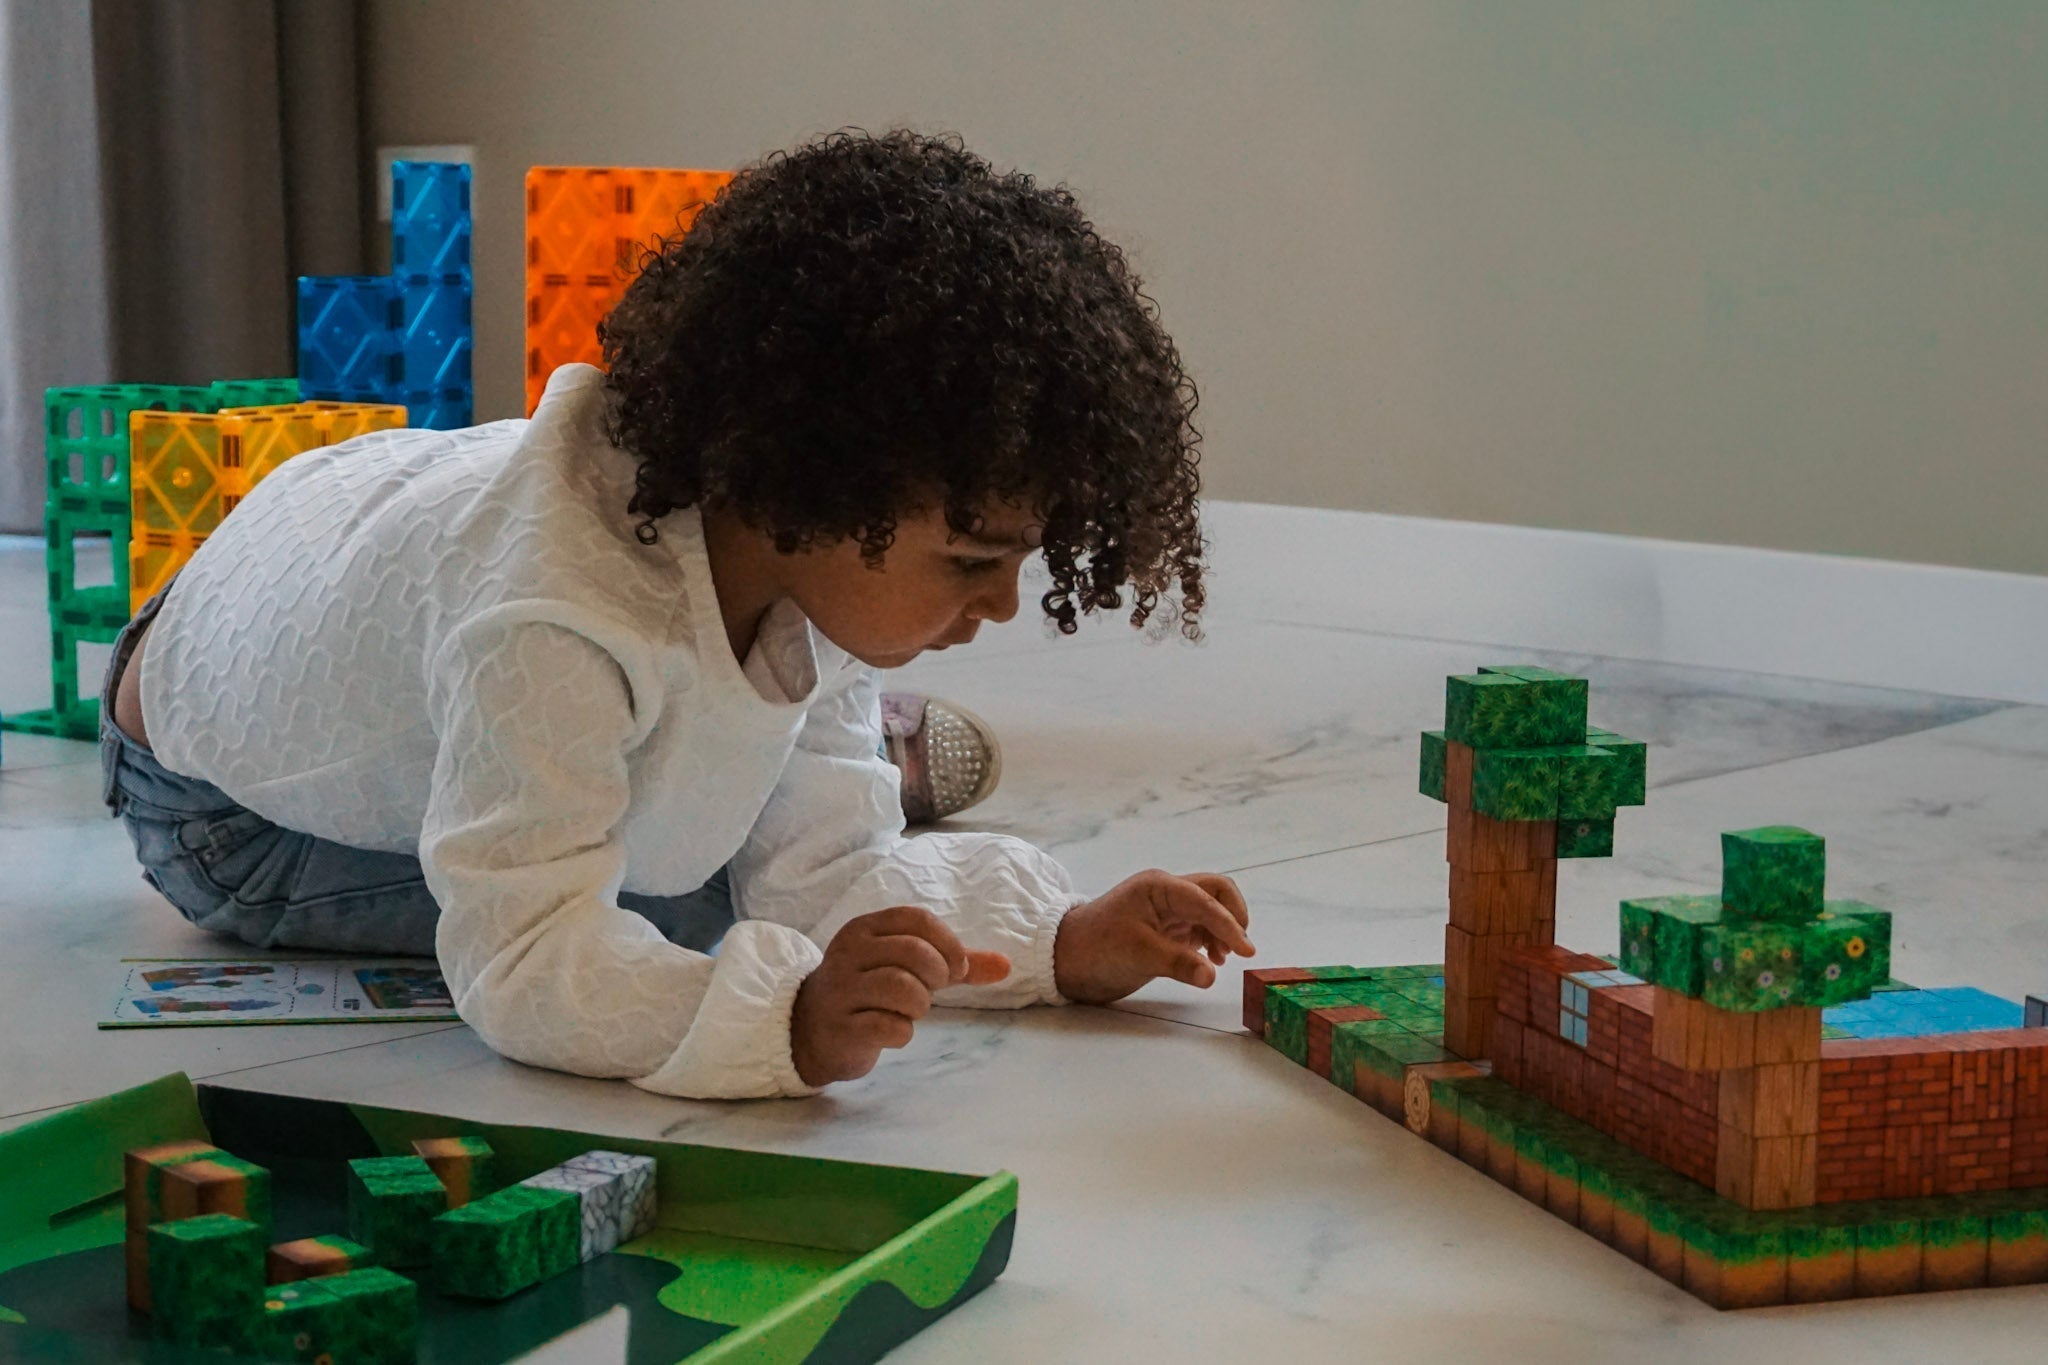
Blocks add character. Once the tiles are in place, blocks bring the build to life: a castle with three towers, an animal enclosure or a multi-storey car park. Children naturally start combining and build roads alongside their blocks. Read more about blocks in everything about magnetic blocks.
And then… movement! The race track is often the favourite part. Children lay routes through their town, send cars over bridges or make up a race with a finish line. Everything they built earlier suddenly has a purpose.
Building together
Building a race track with several children is even more fun. Everyone has a job: one makes the track, another the buildings. That way they learn to cooperate and plan without it feeling like learning. Parents often join in for a while, not because they have to, but simply because it's fun together.
There's no fixed way to build. Sometimes it's a town, sometimes a zoo or a racing circuit with bridges and tunnels. Magnetic building isn't about the perfect result, but about the process: the imagination, the trying and the laughter when something collapses.
Which race track suits your child?
| Situation | Recommendation |
|---|---|
| You want to start racing straight away | Orbit 153 Pieces (€34.99): complete track with a car that drives itself |
| You already have magnetic tiles | Magnetic Cars 2 Pieces (€14.99) and build your own track |
| You want to build a whole town | Combine the race track with Tiles 125 Pieces (€42.00) |
All sets are made from non-toxic, recycled plastic, have strong magnets and are suitable from age 3.
Frequently Asked Questions
How do you build a race track with magnetic tiles?
Lay square tiles one after another as a road, use triangles for bends and build bridges and tunnels with stacked tiles. A sloping row of tiles becomes a ramp. Then put a magnetic car on it.
What's included in the Magnetic Race Track Orbit?
The Orbit set has 153 parts, including track pieces, bridges, colourful flowers and a battery-powered car that drives along the track.
From what age is a magnetic race track suitable?
Our magnetic sets, including the race track, are suitable from age 3. Young children build a simple track; older children make complete circuits with bridges and tunnels.
Can you combine a race track with magnetic tiles and blocks?
Yes. The tiles form the surroundings, the blocks the buildings and obstacles, and the race track brings the movement. That way the game is different every time.
Read more
- Magnetic building: what magnetic tiles do for your child
- Magnetic blocks: everything you need to know
- Building projects with magnetic tiles, step by step
Read more:
Read more: